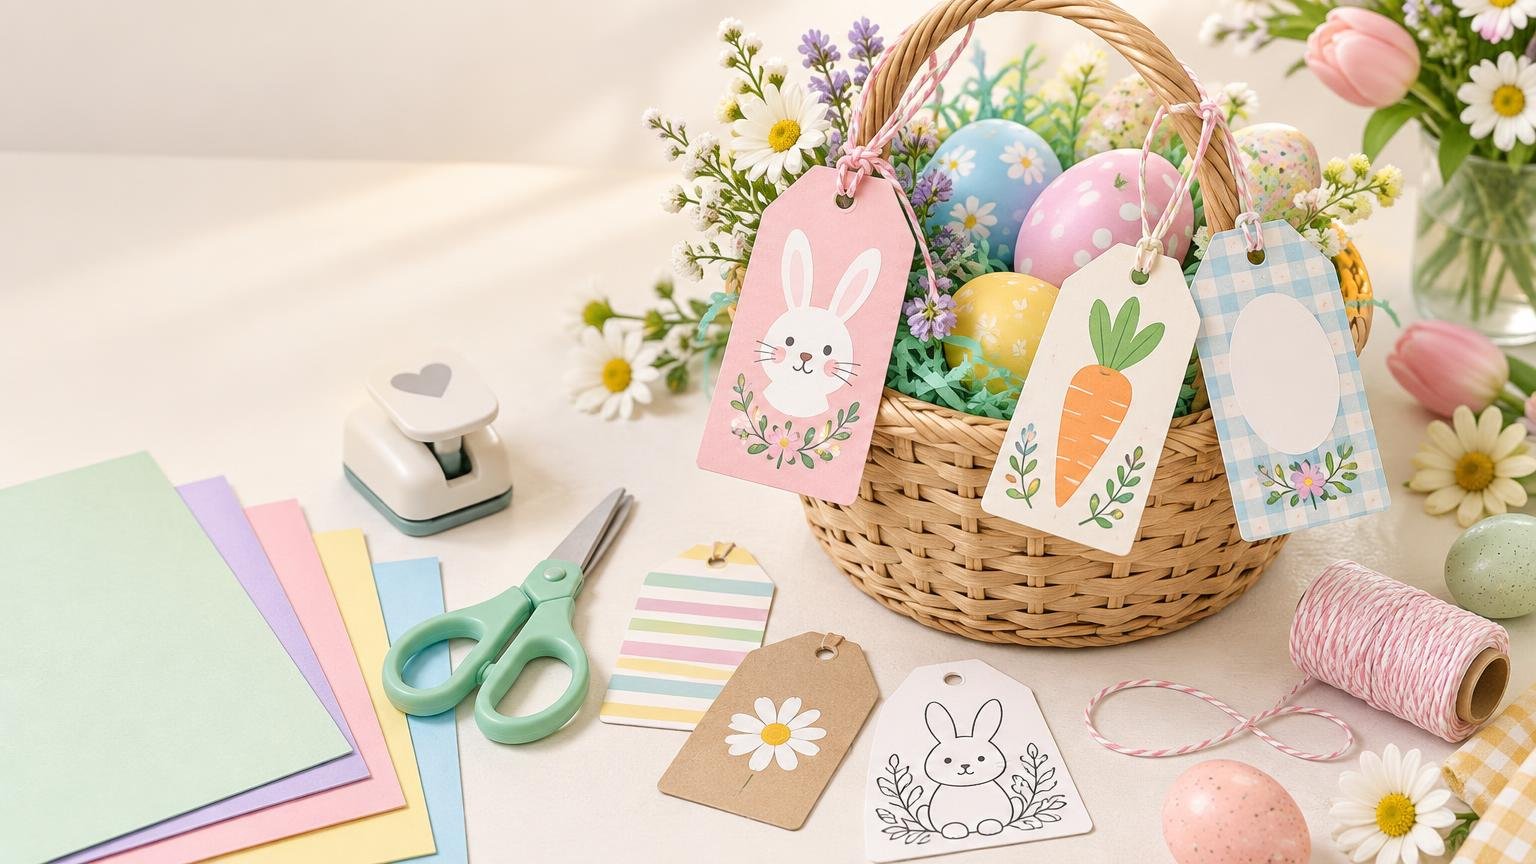
TLDR
The most useful Easter basket tag printables are easy to personalize, readable at a glance, and sized for the gift rather than packed with tiny decoration. Use 2 × 3.5-inch tags for ordinary baskets, 1.5 × 2.25-inch tags for treat bags, or 2-inch circles for favor stickers. Print a plain-paper proof at 100% first, then use printer-compatible cardstock for hanging tags or label paper for peel-and-stick versions.
A good tag does more than identify a basket. It can make a simple paper bag feel like a finished gift, keep classroom treats organized, or distinguish each child’s basket without changing the overall theme. The design ideas and measurements below can be used to build your own printable sheet or evaluate a downloadable file before printing it.
Easter basket tag printables: choose the right format
Start with the object receiving the tag. A large tag looks balanced on a woven basket but can overwhelm a small cellophane favor bag. Likewise, a miniature tag may disappear among ribbon, tissue paper, and plastic eggs.
| Tag format | Practical finished size | Best use | Suggested sheet layout |
|---|---|---|---|
| Standard rectangle | 2 × 3.5 inches | Children’s baskets and family gifts | Six on US Letter paper |
| Mini rectangle | 1.5 × 2.25 inches | Treat bags, classroom favors and plastic cups | Twelve on US Letter paper |
| Round tag or label | 2-inch diameter | Jars, boxes and sealed favor bags | Twelve circles on US Letter paper |
| Large statement tag | 2.5 × 4 inches | Large baskets and hostess gifts | Four on US Letter paper |
| Folded tag | 2 × 3 inches when folded | Gift cards or a short message inside | Four to six on US Letter paper |
These are project recommendations rather than specifications for an existing download. Leave enough white space for the recipient’s name, especially if names will be written with a broad felt-tip marker. A writing field at least 1.5 inches wide works well on a standard rectangular tag.
Six design directions that work for different recipients
1. Pastel To and From tags
Use a pale peach, mint, lavender, or sky-blue border with a white writing area. Add one small motif—a speckled egg, tulip, carrot, or pair of bunny ears—rather than filling every corner. Simple wording such as “Happy Easter,” “To,” and “From” keeps this style useful for children and adults.
2. Easter Bunny delivery tags
For younger children, try “Special delivery from the Easter Bunny” with a large name line beneath it. A paw-print trail, carrot postage mark, or illustrated envelope can support the delivery theme. Eggs, rabbits, candy, and spring imagery are all familiar parts of popular Easter visual culture, although their histories draw on overlapping traditions. The history of familiar Easter symbols provides useful background if you are choosing imagery for an educational project.
3. Simple neutral gift tags
Neutral tags are useful when several generations will receive gifts. Combine warm white, soft green, kraft-paper brown, and one restrained botanical illustration. Phrases such as “Easter wishes,” “For you,” or “With love at Easter” work without making the design feel especially childish.
4. Faith-based Easter tags
Keep religious designs visually distinct rather than squeezing them into a sheet of cartoon tags. Lilies, a sunrise, a simple cross, or a church-window-inspired border can accompany wording such as “Easter blessings,” “Rejoice,” or “Peace and joy this Easter.” Leave space for the giver’s name and check any quoted Scripture carefully against the chosen translation before including it.
5. Low-ink and coloring tags
A black-and-white outline design saves color ink and gives children a small activity. Use bold contours, limited interior detail, and large spaces that can be filled with crayons or colored pencils. Avoid broad gray backgrounds: they consume ink without providing the strong contrast of a true black-and-white design.
6. Classroom and group favor tags
Classroom tags should be quick to prepare in batches. Use one short greeting, a small “From” field, and either a blank recipient line or no recipient line at all. “You’re egg-stra special,” “Hoppy Easter,” and “Have an egg-cellent day” suit informal favors. A school, church, or community group may prefer the simpler “Happy Easter” or “Spring wishes.”
How to build a printable tag sheet
For home printing, create the page at its final paper size instead of enlarging a small image later. US Letter is 8.5 × 11 inches. If international printing matters, prepare a separate A4 layout rather than relying on automatic scaling. The tags can share the same artwork, but their positions should be adjusted for each page size.
- Create the document at US Letter or A4 size and choose portrait orientation.
- Add tag shapes at their exact finished dimensions. Keep a visible gap between tags so small cutting errors do not damage a neighboring design.
- Place names and essential text away from the cut line. Keep decorative borders inside this protected area too.
- Duplicate the finished tag across the page, then change colors or greetings only if the set is meant to include variants.
- Export a print-quality PDF for the full sheet. A separate PNG can be useful when someone needs one tag image for a digital craft project.
- Print with “Actual Size” or 100% selected. Disable “Fit to Page” unless the test sheet shows that the printer clips the edges.
If you want editable names, retain an editable master file in addition to the PDF. Choose a clear typeface and test the longest likely name. A design that fits “Ava” may not fit “Christopher” without reducing the type or widening the field.
Print the tags without wasting cardstock
Make the first proof on ordinary paper. Confirm the physical size with a ruler, check that every name is spelled correctly, and hold the proof against the basket or favor bag. PrintInvitations likewise recommends verifying file dimensions, making a test print, and checking whether the selected stock is supported by the individual printer before committing to a full batch. Its home-printing guidance is a useful checklist when working with unfamiliar paper.
Once the proof is correct, choose the material according to how the tag will be used. Light or medium cardstock gives hanging tags enough body without making them difficult to punch. Before buying a heavy pack, consult the printer manual for its supported paper weight and feed path. For stickers, use inkjet label paper in an inkjet printer or laser-compatible label stock in a laser printer; the packages are not automatically interchangeable.
For more detail about how paper affects home-printed artwork, see this guide to choosing paper for printable pages. Although it discusses coloring sheets, its practical distinction between ordinary copy paper and sturdier specialty paper also applies when testing seasonal printables.
Allow for bleed, cut lines, and safe space
Bleed is extra artwork that extends beyond the final cut edge. It prevents a thin white sliver from appearing when a full-color background is trimmed slightly off line. YouStickers recommends approximately 1/8 inch of bleed and a similar safe inset for important elements in sticker artwork.
For a 2 × 3.5-inch tag with color running to every edge, extend the background to approximately 2.25 × 3.75 inches while keeping the finished cut line at 2 × 3.5 inches. Keep names, greetings, faces, and narrow borders safely inside that cut line. If the tag has a generous white background, bleed is less important because a small cutting variation will not reveal a contrasting edge.
Home printers often cannot print to every edge of a sheet. Instead of forcing a borderless setting, arrange individual tags within the printable area and trim each one separately. Exact printable margins vary by printer, which is another reason to use a plain-paper proof.
Cut and attach the tags neatly
Straight rectangular tags are fastest to cut with a paper trimmer. Scissors are fine for small batches and irregular shapes, while a 2-inch craft punch can speed up circle tags if the artwork is designed for that exact punch size. An optional corner rounder gives rectangular tags a softer, more finished look.
- Punch the hole at least 1/4 inch from the edge so the cardstock is less likely to tear.
- Use narrow satin ribbon for polished family gifts or baker’s twine for casual treat bags.
- Attach a mini tag with a small wooden clothespin when you do not want to punch the paper.
- Use removable adhesive dots to secure a tag temporarily to a box or basket handle.
- Print on compatible label stock when a flat package needs a sticker rather than a hanging tag.
Cut one tag completely before trimming the whole batch. This catches problems such as a border that is too close to the edge or a hole position that covers part of the design.
Plan quantities for baskets, favors, and classrooms
Count recipients first, then add extras for spelling mistakes, cutting slips, and late additions. For six family baskets, one six-tag sheet may be enough, but printing a second sheet provides useful insurance. For a classroom of 24 children using twelve mini tags per sheet, two sheets cover the exact count; a third sheet allows for errors or additional helpers.
The same tag system can be reused across several Easter projects. Standard tags suit baskets, mini tags fit egg-hunt prizes, and round labels can close paper favor bags. Coordinating the colors and illustration style makes mixed packaging look like one intentional set.
When professional stickers or labels make more sense
Home-printed cardstock is usually the simplest choice for a few family baskets. Professionally printed labels become more practical when you need repeated branding, a custom cut shape, a laminated surface, or enough identical pieces for a large event or seasonal product run.
CustomStickers states that custom stickers are available in custom shapes, sizes, and quantities, with vinyl and laminate options. For a durable peel-and-stick version of a basket tag, custom Easter stickers can carry the same artwork as the paper set while removing the cutting and hole-punching steps.
Sticker sheets are another option when one recipient needs several coordinated designs. YouStickers describes its sheets as vinyl with matte or gloss laminate options, kiss-cut on a commonly used approximately 8.5 × 11-inch layout, with proofs and custom layouts available. Check the selected product’s current specifications before ordering.
For a recurring bakery, shop, fundraiser, or gift-packaging project, compare sheets with rolls rather than assuming they serve the same workflow. CustomLabelCo offers both sheet and roll formats and lists 250 labels as the starting quantity for its paper roll-label product. This comparison of roll labels and custom stickers explains when repeated application makes a roll more convenient.
Common questions about printable Easter tags
What size should an Easter basket tag be?
A 2 × 3.5-inch rectangle is a versatile starting point for an ordinary basket. Use a 2.5 × 4-inch tag for a large arrangement or a 1.5 × 2.25-inch tag for small favors.
Can names be written by hand?
Yes. Leave a light or white writing area and use a marker that will not bleed through the selected paper. Write the names before attaching the tags so mistakes are easier to replace.
Can colorful tags be printed in black and white?
They can, but pale colors may convert to nearly identical gray tones. A dedicated black-and-white version with bold outlines and no tinted background will usually be clearer and use less ink.
Can teachers or churches use downloaded tags?
That depends on the license supplied with the particular file. Personal use does not automatically include classroom, church, nonprofit, fundraising, or commercial use. Check the stated terms before copying or distributing the artwork.
What is the easiest attachment method?
For baskets, punch one hole and tie the tag to the handle with ribbon or twine. For treat bags, fold the top and add a mini clothespin. For boxes, cups, and smooth packaging, a compatible adhesive label is usually the quickest choice.
Create one proof before making the full set
Begin with the recipient and package, choose a tag size that looks balanced, and keep the message easy to read. A 2 × 3.5-inch cardstock tag with a clear name field is the best general-purpose starting point. Print one plain-paper proof at 100%, test it on the actual basket, and only then print and cut the full batch. That short check is what turns a cheerful design into a tag that fits, reads clearly, and finishes the gift neatly.
References
- Easter Traditions: Easter Bunny & Easter Eggs | HISTORY
- How to Print Invitations at Home: Paper, Printer Limits, and When to Outsource – PrintInvitations
- Bleed, Margins, and Safe Zone for Sticker Printing – YouStickers
- How to Choose the Best Sticker Material for Your Stickers – CustomStickers.com
- Sticker Sheets – YouStickers
- High Quality Custom Labels – Fast and Free Shipping
